Use this when the address customers see should not be the address you sign into
— hello@your-company.com going out, while you@your-company.com does the
receiving.
Two addresses, one connection
That split is the whole idea, and the wizard states it in one line:
Send from a verified Gmail “Send mail as” alias like
hello@company.com. The underlying mailbox (the address you OAuth) handles inbound; outbound carries the alias as theFromheader.
So this is not a second inbox. Mail still arrives in the mailbox you
authorised, and appears in this dashboard as that mailbox’s conversations. Only
the outgoing From changes.
If you actually want a separate shared inbox, you want a Google Group or a Workspace shared mailbox instead.
Verify the alias in Gmail first
Gmail owns this, not us. The alias must already exist as a verified Send mail as entry on the mailbox you are connecting, or there is nothing to pick:
No verified aliases found — add one in Gmail Settings
The wizard points at the exact place and lets you carry on without one:
Add a verified alias in Gmail Settings → Accounts, then come back to this step. Or click Next to use the primary address for now.
Gmail’s verification sends a confirmation code to the alias address, so you need to be able to read mail sent to it. Do that before starting here.
The screens
Channels → Add → Email → /channels/email/new, pick the alias option, then
Google’s consent screen — where both Gmail permissions must be ticked, the
same trap as the plain Gmail path.
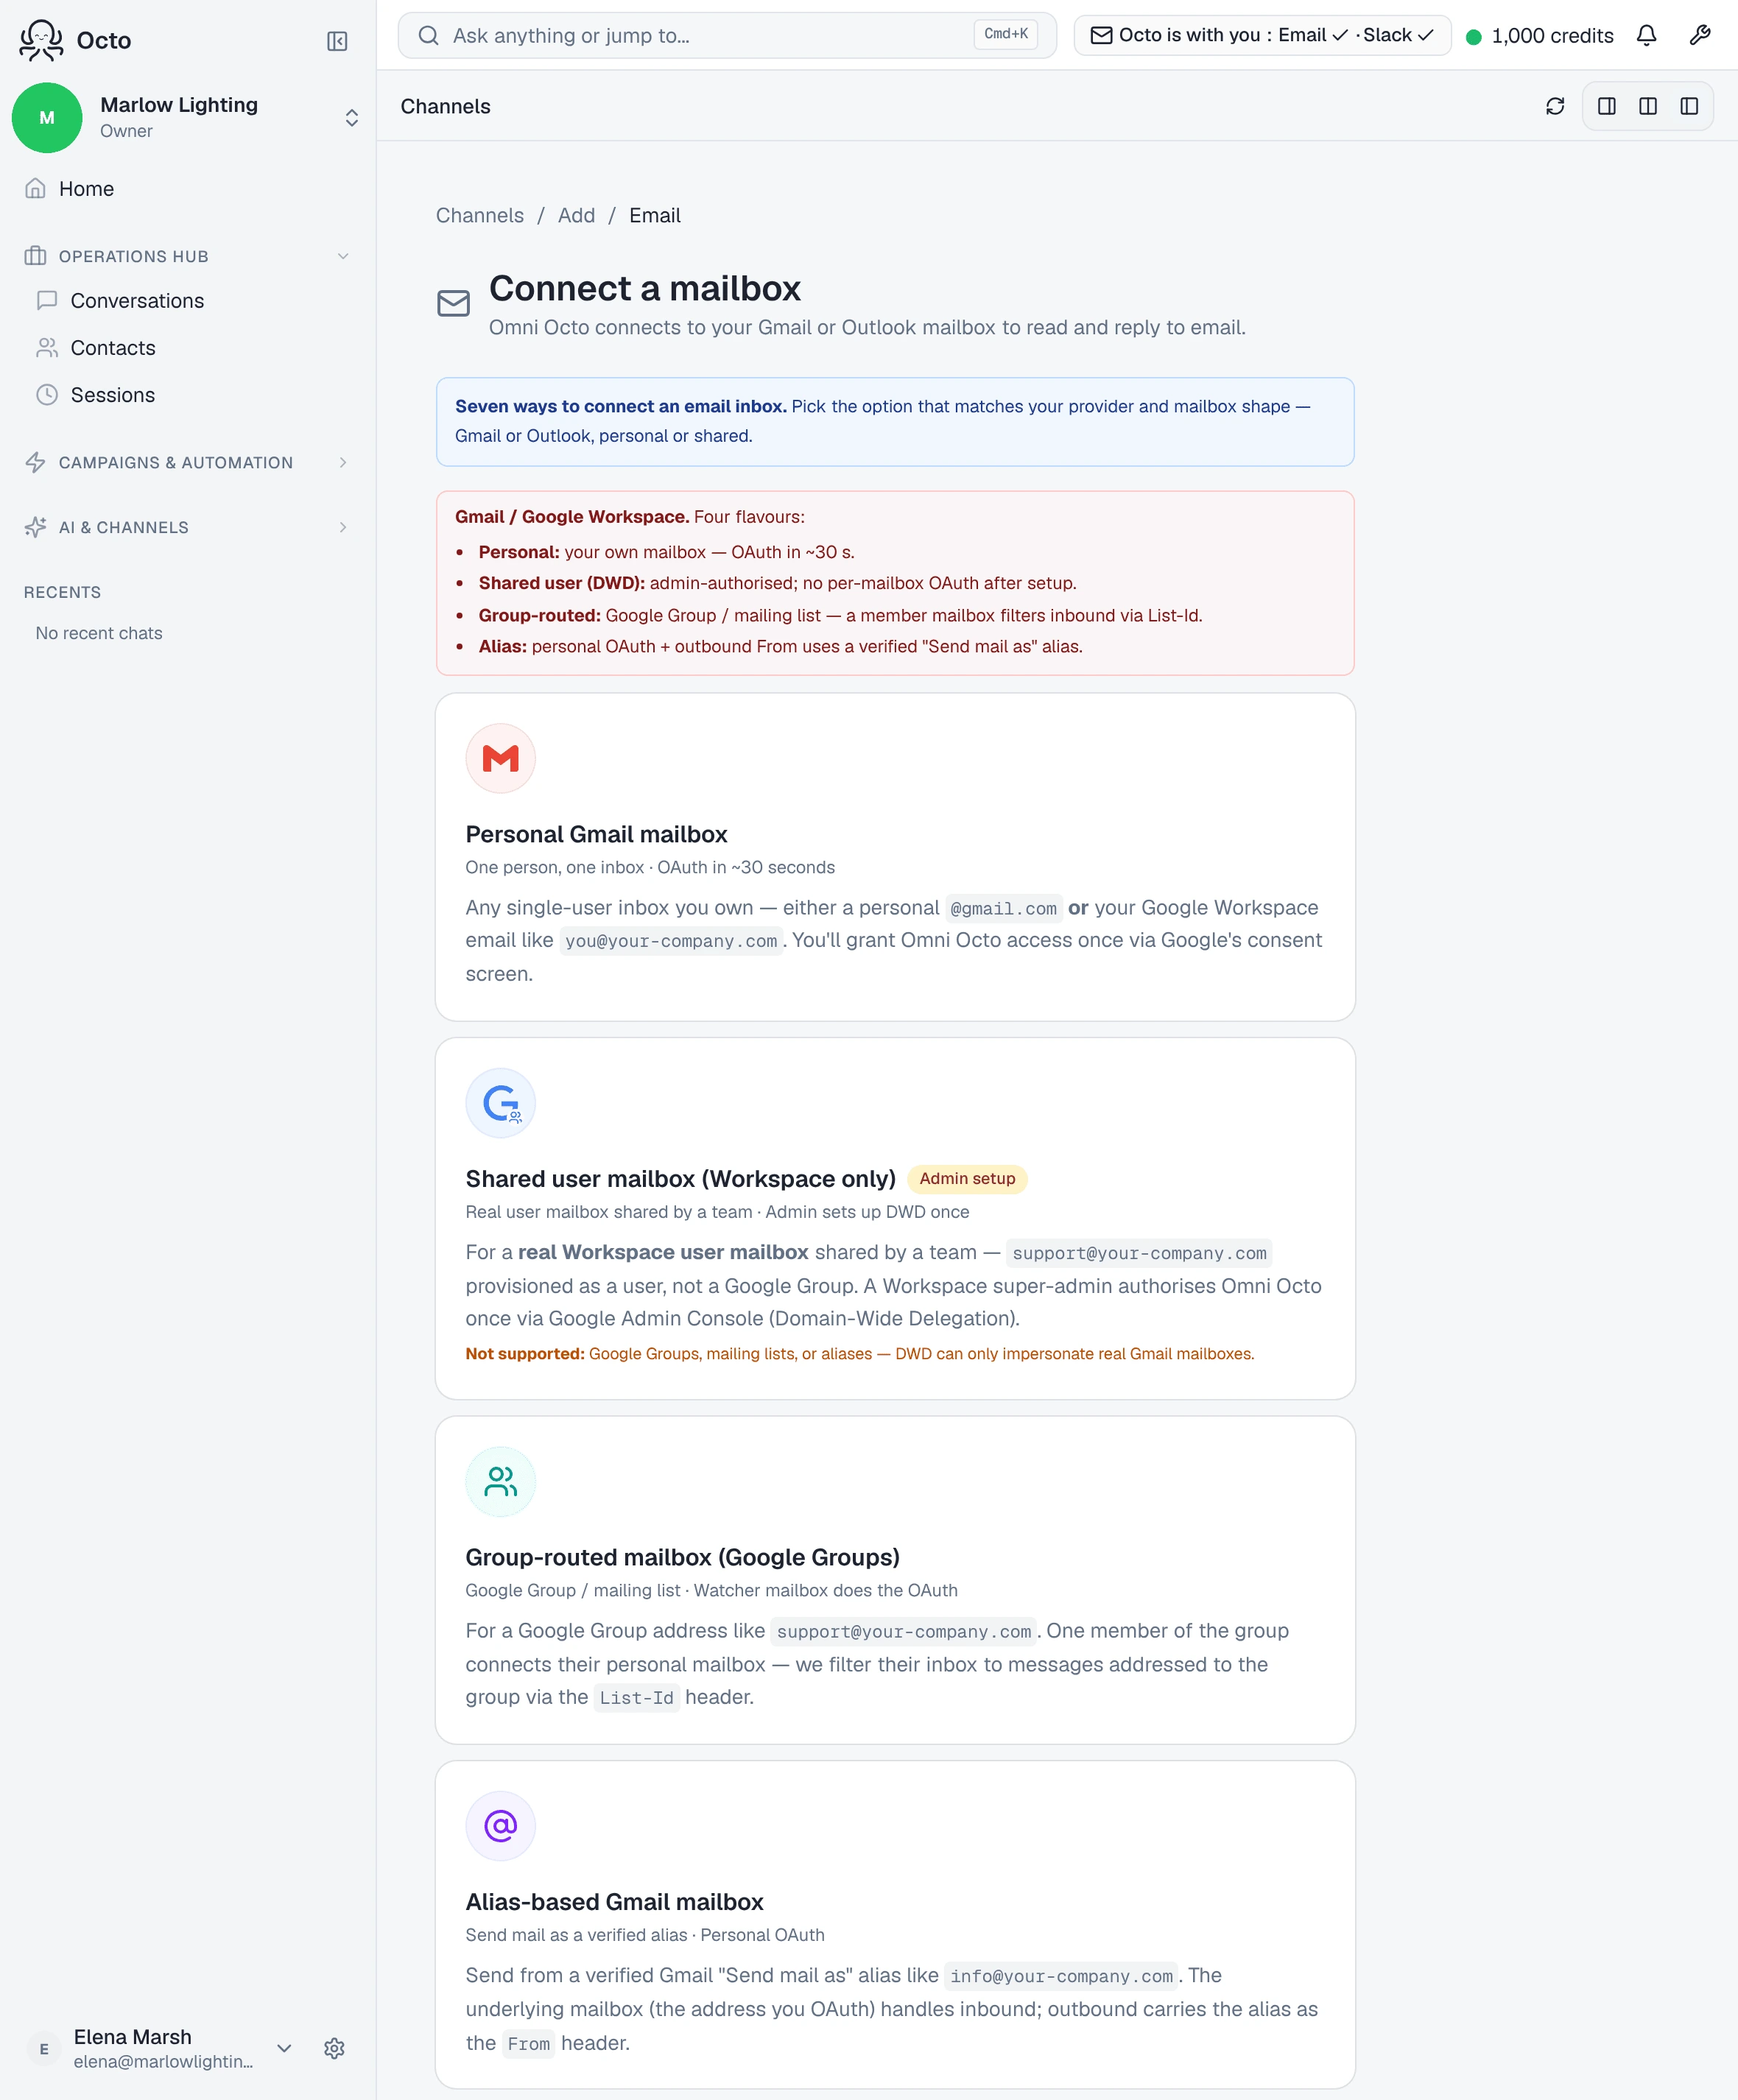
Then Set up an alias-based mailbox — “Send and receive from a verified ‘Send mail as’ alias on a connected Gmail mailbox.” The field reads Choose an alias (or leave blank to use the primary address), and the screen explains precisely what you are choosing:
Choose which verified “Send mail as” alias outbound replies should use as the From header. Inbound mail is still received by the mailbox you just authorised. You’ll pick the agent, reply mode, and signature on the next screen.
After that, Verify mailbox setup and then Finish your mailbox setup. Gmail flows keep that last screen; the Microsoft ones do not.
What it will not do
It does not give the alias its own inbox. One mailbox receives, and every conversation belongs to it.
It does not import your existing mail, and the watch is armed on INBOX
only — mail filtered past the inbox is not seen.
It cannot invent the alias for you. An unverified alias is invisible here; Gmail has to verify it first.